Kawasaki Versys Forum banner

New Additional Lighting Brackets from SW Motech

12K views 29 replies 19 participants last post by  gti20vturbo  
#1 ·
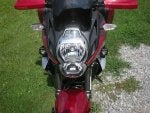
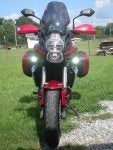
As the dark nights are rolling in now, I’ve bee looking to add some additional lighting but have been thwarted by the lack of high level light fixing positions available on the V. :(
BUT now I have found these are now available from SW Motech :clap:
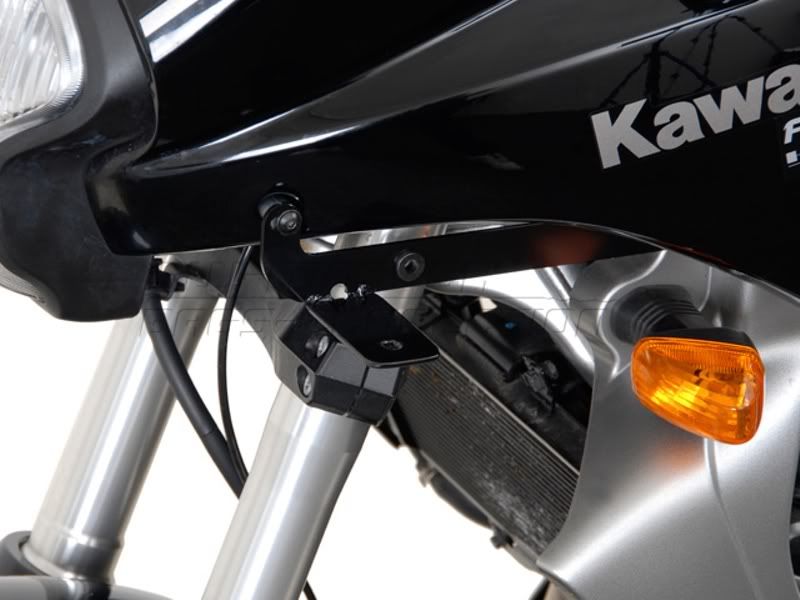
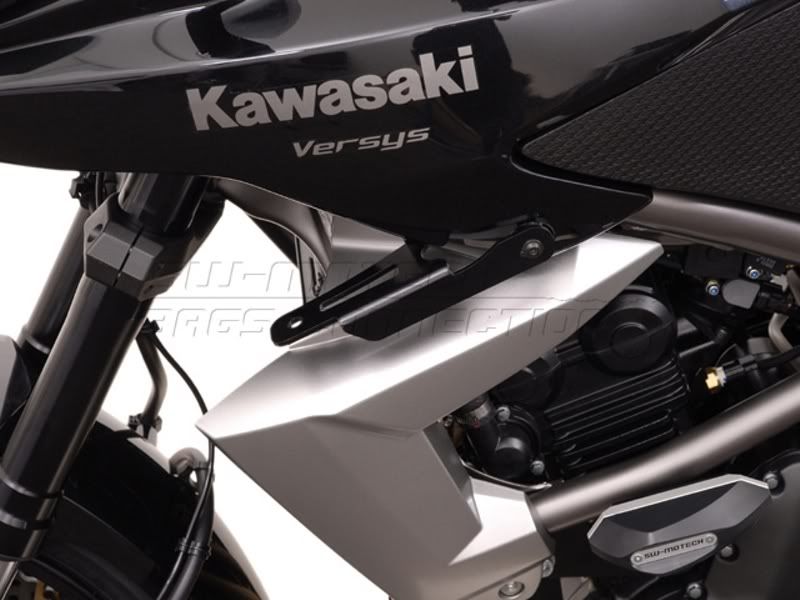
Both for the Mk1 (07-09) and Mk2 (10- ) V’s

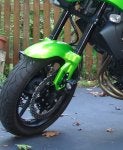
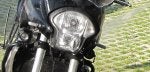
Mk1 Details CLICK HERE

Image


Image


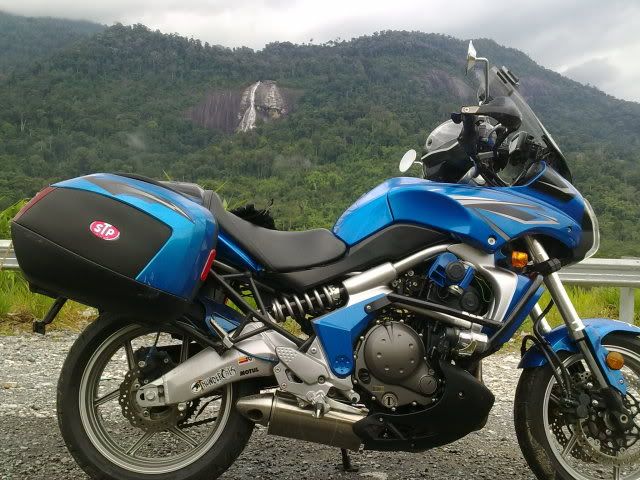
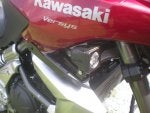
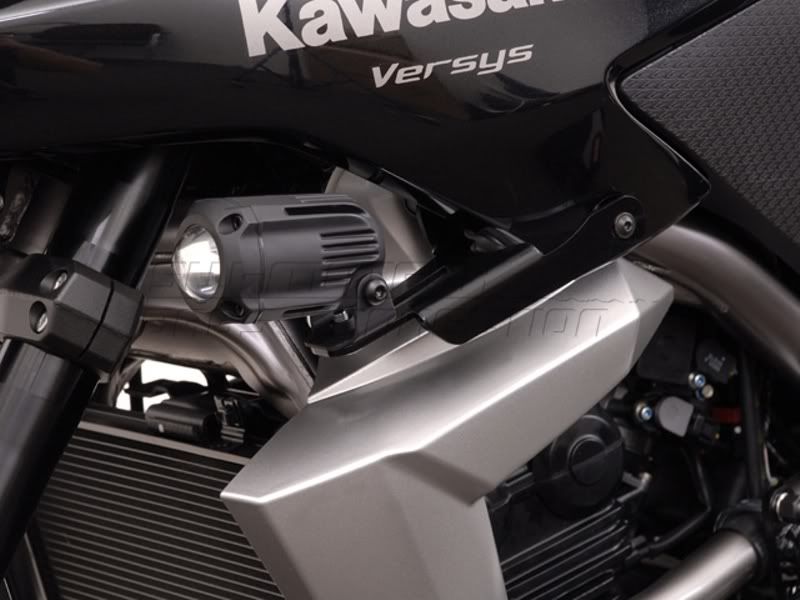
Mk2 Details CLICK HERE

Image


Image


It looks like they also may be able to take other equipment such as Video Cams as well. :thumb:

Not sure if they are available from Twisted Throttle yet :confused:

Richard
 
#3 ·
I grabbed these.... 48mm will fit on the narrow section of the fork and 52mm will fit on the section just below the brace.

http://www.procycledepot.com/PRO_TEK_FORK_TUBE_CLAMPS-8-9721-87769.html

I thought about mounting my lights using one of the fairing bolts, but didnt want to have to remove the lights to remove the fairing.

Image


Plus I have the added benefit of the light moving with a turn.
 
#5 ·
I'd love to add extra lights to my Versys. Is there a kit available with everything needed including the electrical part, with a a fairly no fuss install?
 
#11 ·
Thanks for the feedback!
I'll wait for Twistedthrottle to get a complete kit. Been very pleased with them and all I've purchased from them!!!! Just recommended them to some of my fellow members from Midmoriders.com.(local group)
 
#20 ·

Attachments

#28 ·
FINALLY got my light mounts from twistedthrottle, only to find my PIAA lights don't fit on them. I'll have to make offsets to get them in; the rock guard is too tall and hits my fairing. Here's the install pictures of the brackets.

Here are all the hidden little grommets and pins you have to find to take off the plastic. You need to remove the "knee pad" area first, then the plastic around the tank. It is pinned in the top, and hooks on a bracket in the front. After removing the pins from the grommets on the tank, remove the bolt on the side, then push it forward to remove it.

Image


Image


Bracket in the front:
Image


First set of bolts put in:
Image


After putting this bolt and spacer set in, reinstall the plastic. Then you can put the last bolt in, and tighten all the bolts.
Image


Image


Image


I will post another update when the PIAA lights are on.


MORE UPDATES IN MY BUILD THREAD: CLICK HERE